Welcome to our comprehensive guide on how to make a gaff! Whether you’re an avid angler or a DIY enthusiast, this article is perfect for you. In this step-by-step tutorial, we’ll walk you through the process of creating your own gaff from scratch. From gathering the necessary materials and tools to constructing the gaff and adding finishing touches, we’ve got you covered. Get ready to embark on an exciting DIY project that will enhance your fishing or crafting experience!
If you’ve always wanted a custom gaff tailored to your specific needs, this guide is exactly what you need. Making a gaff allows you to have full control over its design, materials, and functionality. Whether you’re looking for a lightweight gaff for small fish or a sturdy tool for larger catches, you can customize your creation to suit your preferences.
Not only is making a gaff a satisfying and rewarding project, but it can also save you money compared to purchasing one. So, why not challenge yourself and unleash your creativity by making your own gaff? Let’s dive into the details of this DIY endeavor and discover how you can make an efficient and durable gaff from start to finish!
Gathering Materials and Tools
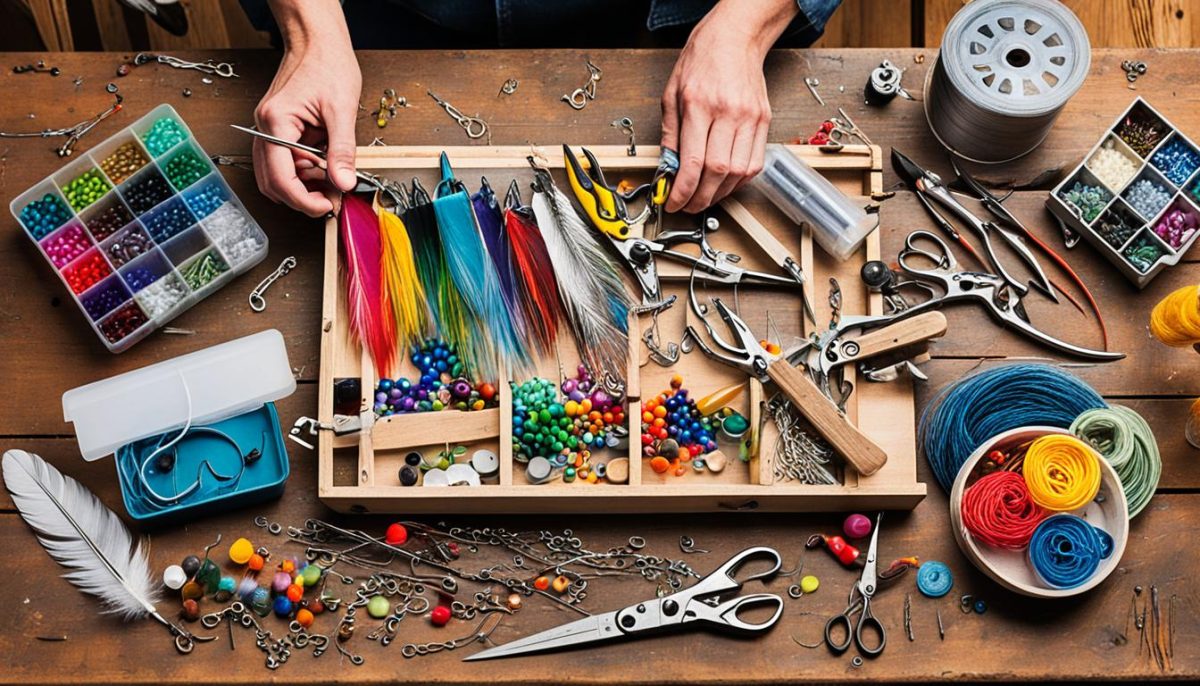
Before you embark on your gaff-making journey, it’s crucial to gather all the essential materials and tools. Making sure you have everything you need will streamline the process and ensure a smooth construction experience. In this section, we will outline the items required to complete your gaff project, from the main gaff pole to additional components like hooks, grips, and ropes.
Main Gaff Pole
The main gaff pole is the foundation of your tool and should be sturdy and durable. Choose a material that can withstand the rigors of your intended use, such as stainless steel or aluminum. Consider the length and weight of the pole based on your specific needs.
Hooks
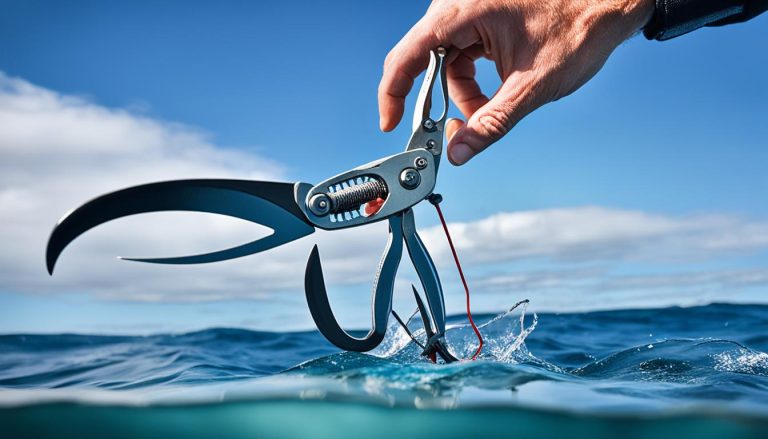
The hook is an integral part of the gaff and plays a crucial role in securely capturing your target. Stainless steel hooks are commonly used due to their strength and resistance to corrosion. Select a hook size that matches the type of fish you intend to catch.
Grips
Having a comfortable grip is essential for optimal handling and control. Look for grips made of high-quality materials that provide a firm hold and minimize strain on your hands. Rubber or EVA foam grips are popular choices.
Ropes or Lanyards
To further enhance your gaff’s functionality, consider attaching a rope or lanyard to prevent accidental loss. Choose a strong and durable rope that can withstand the tension and weight of your target species. Ensure it is securely attached to the gaff and easy to grip.
Additional Tools
Depending on your specific gaff design, you may require additional tools such as pliers, screws, or adhesive. These tools will aid in assembly, customization, or any necessary adjustments throughout the construction process. Be prepared with a well-equipped toolbox to tackle any unforeseen challenges.
Once you have gathered all the necessary materials and tools, you will be ready to embark on the journey of constructing your very own gaff.
| Materials | Tools |
|---|---|
| Main gaff pole (stainless steel or aluminum) | Pliers |
| Hooks (stainless steel) | Screws |
| Grips (rubber or EVA foam) | Adhesive |
| Ropes or lanyards |
Constructing Your Gaff
Now that you have gathered all the necessary materials and tools, it’s time to start constructing your gaff. Follow our step-by-step guide below to assemble all the components and create a functional and reliable tool.
- Attach the hook: Begin by securely attaching the hook to the main gaff pole. Ensure that it is firmly fixed and allows for easy maneuverability.
- Secure the grip: Next, carefully secure the grip to the handle of the gaff. This will provide you with a comfortable and ergonomic hold while using the tool.
- Reinforce the connections: Take the time to reinforce all the connections by using strong adhesive or screws. This will ensure that your gaff remains sturdy and reliable even during demanding tasks.
- Test for strength: Once you have completed the assembly process, it’s important to test the strength and durability of your gaff. Give it a few practice swings to ensure that all the components hold up under pressure.
By following these steps, you can rest assured that you have constructed a gaff that is ready to assist you in various fishing or crafting endeavors. Take pride in your DIY project and enjoy the benefits of a well-made tool!
Finishing Touches and Tips
Now that you have constructed your gaff, it’s time to add those finishing touches that will take it to the next level. These small details can make a big difference in terms of functionality and durability.
One essential finishing touch is sharpening the hook. A well-sharpened hook ensures a clean and efficient catch, increasing your chances of success. Use a file or a honing stone to carefully sharpen the hook, making sure to maintain its original shape.
Additionally, consider adding a protective coating to your gaff. This helps prevent corrosion and extends its lifespan. Choose a coating that is suitable for the material you used to construct your gaff, whether it’s wood, metal, or another material. Apply the coating evenly and let it dry thoroughly before using your gaff.
As for additional tips, always keep your gaff clean and dry when not in use. This helps prevent rust or deterioration. If you’re using a wooden gaff, apply some oil or wood preservative regularly to keep it in top condition. And remember, practice makes perfect when it comes to using a gaff, so don’t hesitate to try different techniques and adjust your grip for optimal performance.

