Are you ready to take your fishing experience to the next level? Knowing how to effectively line a baitcaster can make a world of difference in your performance on the water. Whether you’re a seasoned angler or a beginner, mastering the art of spooling your baitcaster is essential for achieving smooth casts and avoiding frustrating backlashes.
In this article, we will guide you through 7 easy steps to help you line a baitcaster like a pro. We’ll cover everything from gathering the necessary materials to adjusting the tension knob and managing backlash. So grab your baitcaster reel, fishing line, scissors, and let’s dive into the process!
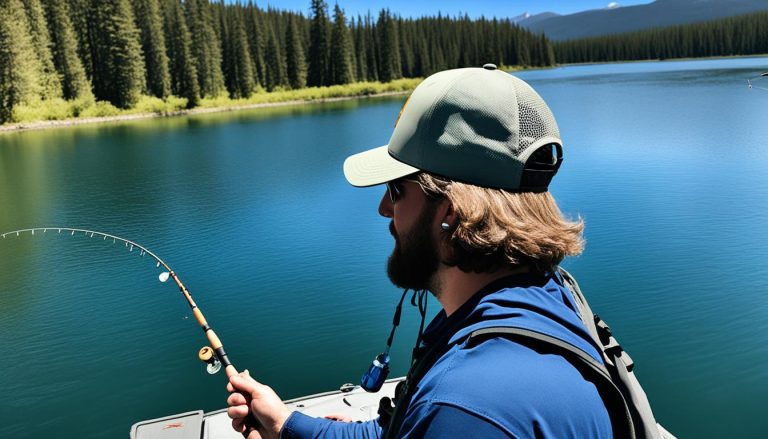
But before we get started, let’s take a moment to appreciate the beauty of a perfectly lined baitcaster:
Now that you’re inspired, let’s jump into the details of each step. By the end of this article, you’ll have the knowledge and confidence to spool your baitcaster with ease, enhancing your fishing experience and improving your chances of landing that trophy catch. So, without further ado, let’s begin the journey of lining a baitcaster!
Gather the Necessary Materials
Before you start spooling your baitcaster, it’s important to gather all the necessary materials. Having these items readily available will make the spooling process much easier.
Fishing Line
First and foremost, you’ll need a suitable fishing line. Choose a line that is appropriate for your fishing needs, considering factors such as the type of fish you’re targeting and the fishing conditions. The fishing line is a crucial component for ensuring a successful and enjoyable fishing experience.
Baitcaster Reel
Next, make sure you have a baitcaster reel. This type of reel is specifically designed for baitcasting and provides excellent control and accuracy when casting. It’s important to choose a baitcaster reel that matches your fishing style and preferences.
Scissors
Don’t forget to grab a pair of scissors. You’ll need them to cut the fishing line during the spooling process. Make sure the scissors are sharp and easily accessible to save time and effort.
Arbor Knot Knowledge
Lastly, it’s crucial to have knowledge of how to tie an arbor knot. The arbor knot is used to secure the fishing line to the spool of the baitcaster reel. It’s a simple knot that provides a strong and reliable connection. If you’re unsure how to tie an arbor knot, there are plenty of resources available online that can guide you through the process.
Having all these materials on hand will set you up for success when it comes to spooling your baitcaster. Now let’s move on to the step-by-step guide of lining a baitcaster reel.

Step-by-Step Guide to Line a Baitcaster
Now that you have all the materials ready, let’s dive into the step-by-step process of lining your baitcaster reel for optimal performance. Follow these instructions to ensure a smooth cast and manage backlash effectively.
Step 1: Adjust the Tension Knob
Begin by loosening the tension knob located on the side of your baitcaster reel. This knob controls the amount of resistance on the spool. Start by turning it counterclockwise to reduce tension.
Step 2: Thread the Line Guide
Take the end of your fishing line and feed it through the line guide, which is usually positioned on top of the reel. Make sure the line is properly aligned with the guide to prevent any tangles or snags during the casting process.
Step 3: Tie the Arbor Knot
Attach the fishing line to the spool of your baitcaster reel using an arbor knot. This secure knot prevents the line from slipping off the spool during casting. Make sure the knot is tight and trim any excess line with a pair of scissors.
Step 4: Apply Tension
Gently hold the line with your thumb and forefinger to apply slight tension. This ensures the line is properly wound on the spool, minimizing the risk of backlash. Maintain a consistent tension throughout the spooling process.
Step 5: Engage the Reel
Engage the reel by turning the handle in a clockwise motion. As the line starts to spool onto the reel, continue applying light pressure with your fingers to maintain tension and prevent any slack.
Step 6: Manage Backlash
Keep a close eye on the spool while reeling to manage backlash. If you notice the line starting to pile up or become loose, adjust the tension knob slightly to find the optimal setting. This will help prevent tangles and ensure a smooth, controlled cast.
Step 7: Test and Adjust
Once the line is successfully spooled onto your baitcaster reel, give it a test cast in an open area. Pay attention to how the line flows off the spool and adjust the tension knob as needed to achieve the desired casting distance and control.
By following these step-by-step instructions, you’ll be able to line your baitcaster reel accurately, manage backlash effectively, and enjoy a smooth and enjoyable casting experience. Practice makes perfect, so don’t be discouraged if it takes a few tries to get it just right. Happy fishing!